1
How do you want to start?
Choose between two cards: Connect a repository or Start without a repository. Connecting a repository lets Chainloop prefill the project details and run managed workflows against it; starting without one creates a bare project that you can instrument with the Chainloop CLI and link to a repository later.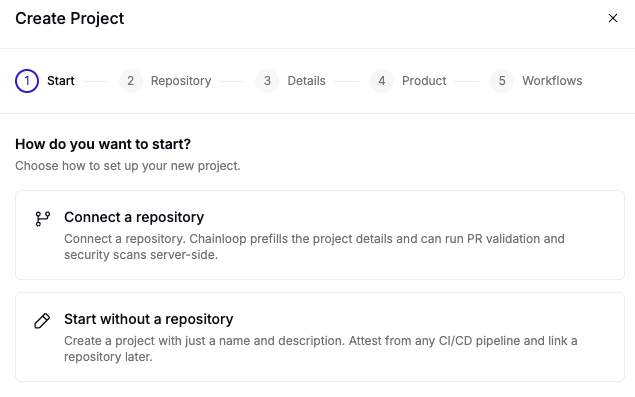
This step, and the following Connect a repository step, only appear when a source-control integration is connected. If none is connected yet, the wizard opens directly on the Details step.
2
Pick a repository
Search for a repository using the search box, or scroll the list pulled live from your connected source-control provider. Each row shows the provider icon, the repository name and description, and a “Linked to 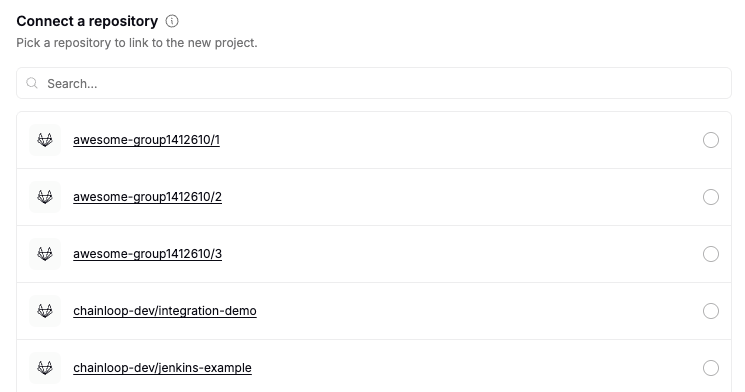
<project>” badge if it’s already linked to another project.3
Name your project
Enter a project Name (required). If you picked a repository in the previous step, the name is prefilled from the repository name — you can still edit it. An optional Description field accepts markdown.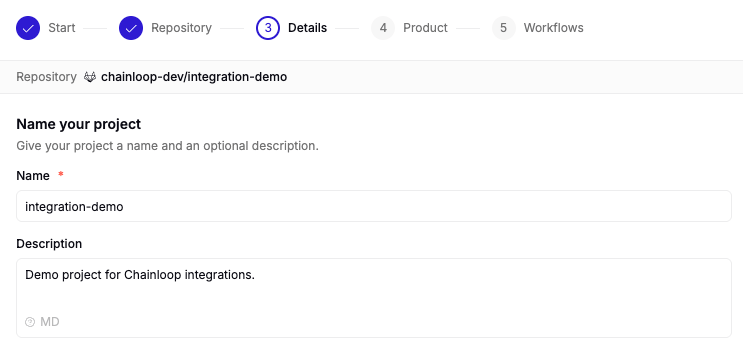
4
Associate a product
Optionally attach the project to an existing product, create a new product for it, or click Skip this step to leave it unattached.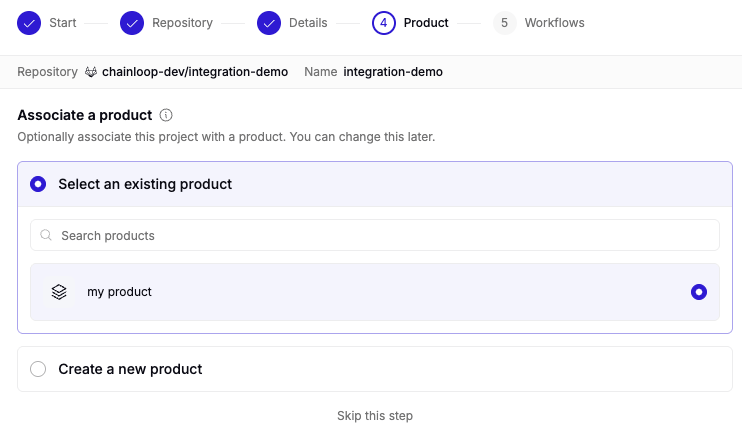
This step is skipped automatically when you launch the wizard from within a product.
5
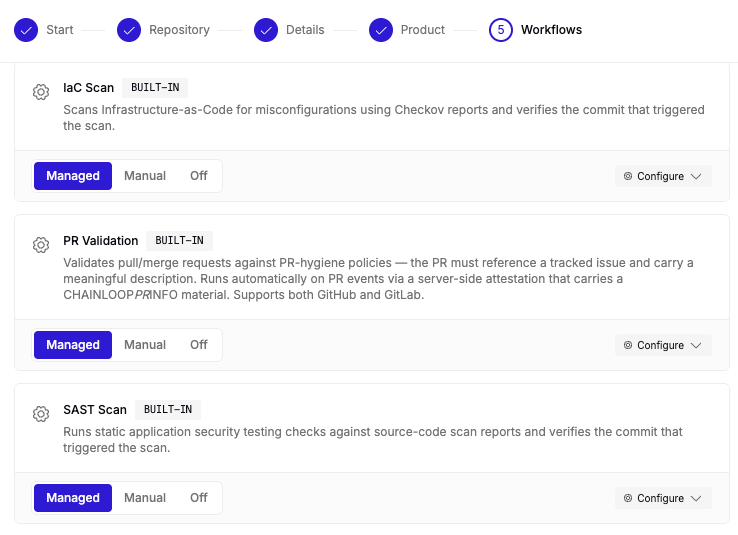
Set up workflows
Choose how each workflow template runs in the project. Every card has an On/Off toggle and, when it’s on, checkboxes for the run modes the template supports: Run periodically, Run in PRs, or both. Some templates run periodically only. Each card also has an inline Configure panel for the template’s options.