Overview
An attestation is a signed and verifiable unit of data sent to Chainloop. Users and CI systems use the Chainloop CLI to “craft” attestations, add pieces of evidence (materials) to them, and “push” them to Chainloop service (the evidence store). Attestations are performed with the Chainloop command line interface (CLI) and its lifecycle has the following stages:init, add, push or reset.
As you can see, it mimics the workflow of a commonly used version control tool, and this is not by coincidence. Chainloop wants to make sure that the tooling feels familiar to developers and that no security jargon leaks into this stage of the process. For a developer, creating an attestation must be as simple as initializing it, adding pieces of evidence (materials) to it, and pushing it.
Attestation lifecycle
attestation init
During this stage, the crafting tool will contact chainloop control plane to- Signal the intent of starting an attestation.
- Retrieve or create the associated workflow contract
- If the contract has a specified runner context type, check that we are compliant with it.
- Initialize environment variables, explicitly stated in the contract and other contextual information.
The “other contextual information” includes the environment variables that the runner context discovers automatically. If your organization has enabled the Skip Runner-Discovered Environment Variables setting, those auto-discovered variables are not stored in the attestation. The contract’s explicit
envAllowList is always honored.attestation add
Add the materials required by the contract and any other additional (see contractless materials pieces of evidence, i.e artifact, OCI image ref, SBOM. Theadd command knows how to handle each kind of material transparently to the user.
For example
- ARTIFACT kinds will be uploaded to your artifact registry and referenced by their content digest.
- CONTAINER_IMAGE kinds will be resolved to obtain their repository digests using the local authentication keychain.
- SBOM_CYCLONEDX_JSON will validate the right SBOM format and upload it to the artifact registry.
attestation push
This stage will take the current crafting state, validate that it has all the required materials and- Create a signed, attestation envelope.
- Push it to the control plane for storage
If your organization has enabled the Make Released Versions Immutable setting, pushing an attestation to a project version that has already been released will be rejected.
attestation reset
By using thereset command we can indicate to the control plane that something went wrong or we want to abort the attestation process.
attestation status
See the state of the current crafting process.Attestation format
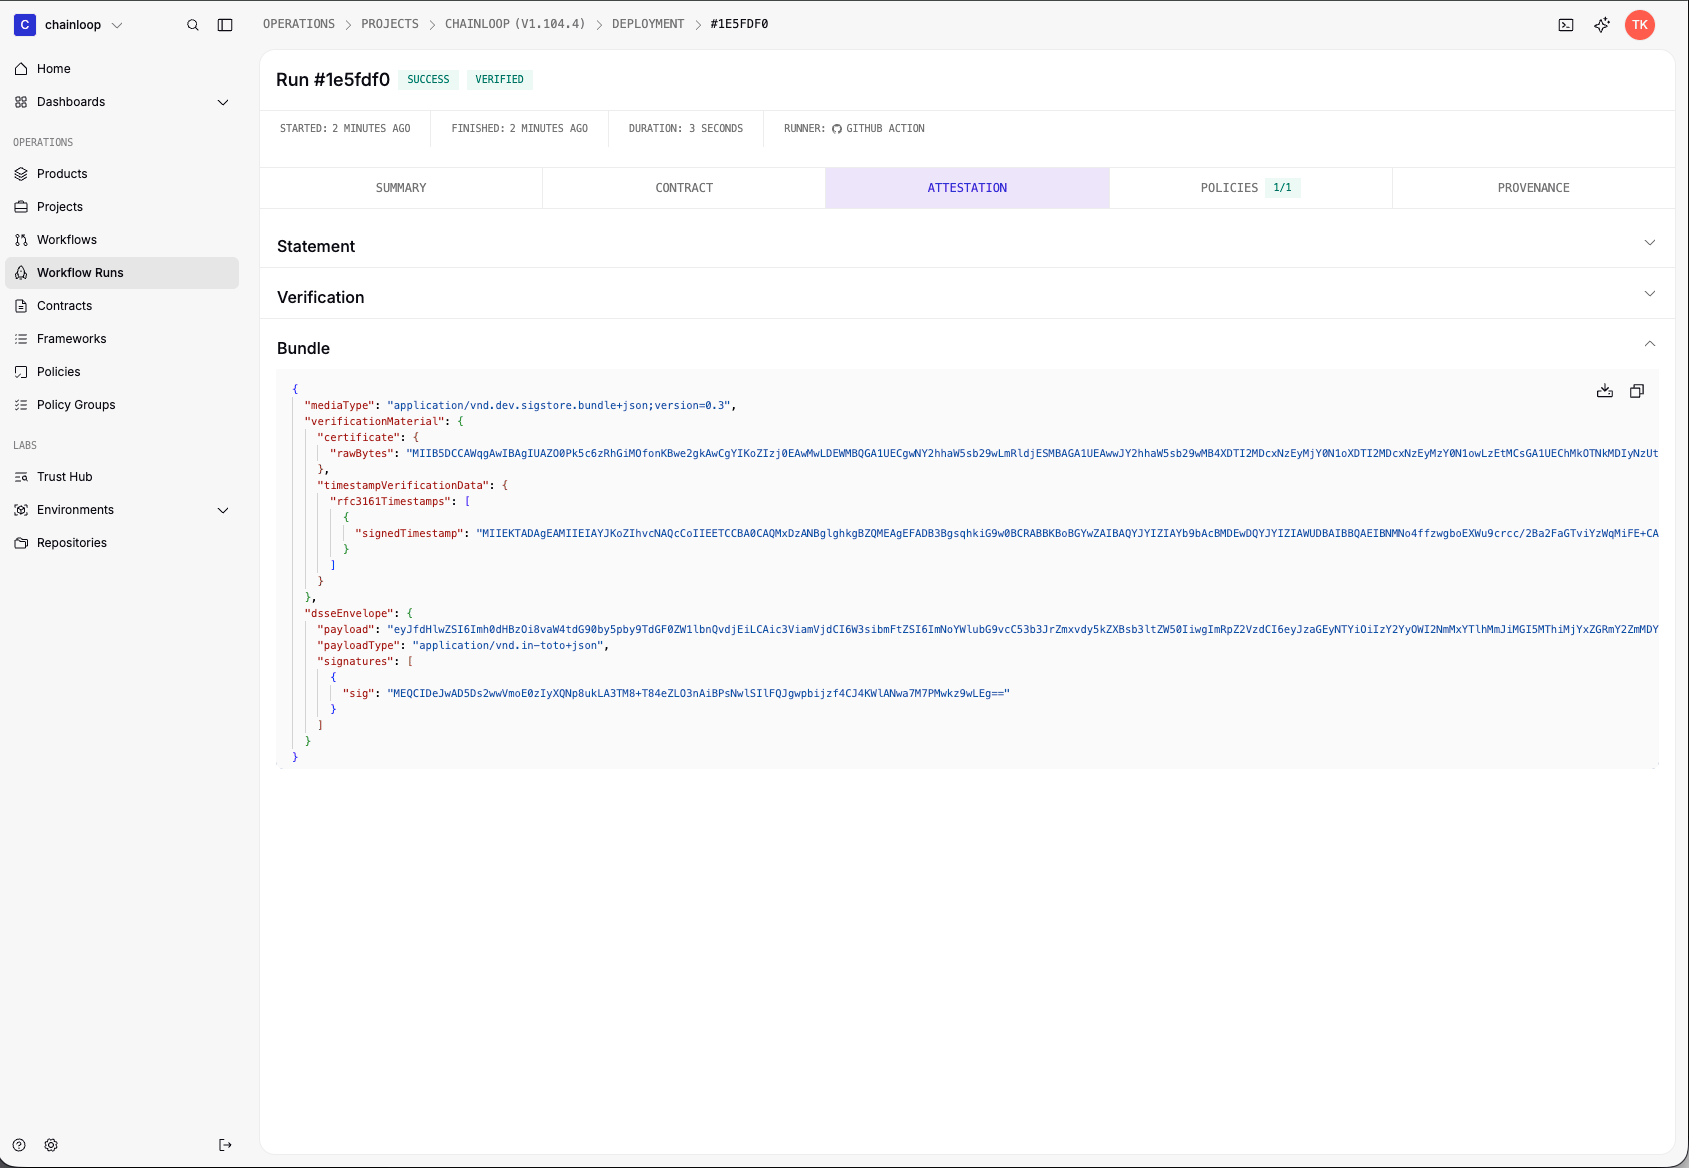
The generated attestations are in the form of a Sigstore bundle signed with the signing mechanism of your choice. This bundle contains the attestation in the form of a DSSE envelope, and the verification materials required to verify the attestation. These include intermediate certificates, in the case of ephemeral certificates or timestamp services. Example- Web UI
- CLI
Commit Verification
Chainloop automatically captures commit signature verification information during attestation initialization. When running in GitHub Actions or GitLab CI environments, the CLI queries the platform’s API to verify if the commit was cryptographically signed and validated.How it works
During theattestation init stage, Chainloop:
- Detects the CI/CD environment - Identifies if running in GitHub Actions, GitLab CI, or other supported platforms
- Queries platform APIs - Uses
GITHUB_TOKEN(for GitHub Actions) orCI_JOB_TOKEN(for GitLab CI) to check commit signature verification status - Records verification metadata - Captures verification status, signature algorithm, and key information
- Adds to attestation - Includes verification data as annotations in the attestation
Supported platforms
Commit verification is automatically performed in:- GitHub Actions - Verifies GPG/PGP, SSH, and X.509 signatures through GitHub’s commit verification API
- GitLab CI - Verifies GPG/PGP, SSH, and X.509 signatures through GitLab’s commit signature API
- Dagger - Supports verification when running within GitHub Actions or GitLab CI environments
Verification statuses
The commit verification status is recorded with one of the following values:verified- Commit signature was successfully verified by the platformunverified- Commit has a signature but verification failed (invalid signature, unverified key, etc.)unavailable- Verification could not be performed (API error, missing token, network issue)not_applicable- Commit is not signed or platform doesn’t support verificationunspecified- Verification status is unknown
Attestation annotations
The commit verification information is stored in the attestation subject annotations:Commit verification is performed on a best-effort basis and is non-blocking. If verification cannot be performed (e.g., missing token, API error), the attestation will continue with the status recorded as
unavailable. This ensures that attestation workflows are not disrupted by verification issues.Your first attestation
To perform your first attestation locally, please refer to the getting started guide.CI integration
Integrating the attestation process usually requires:- Create an expose an API token or leverage native OIDC support (if applicable)
- Download the Chainloop CLI and perform the attestation lifecycle
Native CI/CD runner integrations (e.g., Jenkins plugin, GitHub action) are under development. In the meantime, please use the chainloop CLI as shown in these examples
- GitHub
- GitLab
Advanced features
The basics of the attestation process is described in our getting started guide. This guide, instead will focus in some advance features guideContract-less, auto-discoverable materials
Security and Compliance teams can define requirements on what must be included in the attestation through contracts. Alternatively, and in addition to the materials defined on the contract, you can add as many contract-less materials as you like by providing its value. The CLI will automatically discover the kind of material you are adding, but you can also specify it by providing the--kind flag.
For example
Remote State
By default, the attestation process state is stored locally. But this setup is not suitable when running a multi-step attestation process in a stateless environment, like our Dagger module, or when you want to leverage CI multi-job parallelism or similar. For that, we implemented attestation remote state. Simply put, instead of the attestation CLI being in charge of maintaining the state during the attestation, this can be delegated to the server and retrieved at any time by providing an “attestation-id.”Add Annotations
You can add arbitrary, or pre-defined (in the contract) annotations to both the final attestation or any material you add to the attestation. Material annotations can be added during the `att add command by providing —annotation foo=barattestation push command.
Sourcing policy inputs from a file
Policies can receive inputs (arguments) that tune their behavior, such as anignored_paths exclusion list. These are normally provided inline in the contract via the with: field. For data that doesn’t fit comfortably in an argument string — for example exclusion lists that run to hundreds of file paths and are owned by a different team — you can instead source a policy input dynamically from a CSV or JSON file at attestation time.
The repeatable --policy-input-from-file flag on chainloop attestation add extracts a column from a file and injects it as a policy input when the material is evaluated:
<input>=<file>[:<column>]:
<input>is the name of the policy input to populate (e.g.ignored_paths).<file>is the path to the CSV or JSON data file.:<column>selects which column/field to read. It is optional and defaults to the input name. The column is always a single, top-level field or header name, and is taken as the segment after the last:, so a Windows drive letter (C:\...) or a URL scheme (https://) in the file path is not mistaken for a column.
- CSV / TSV — comma and tab delimiters are auto-detected, a leading byte-order mark (BOM) is handled, and the column header match is case-insensitive.
- JSON — a bare string array, an array of string-valued objects, or an object mapping the column name to an array.
with: for that policy, so you can combine inline defaults with file-sourced values.
Inputs supplied this way remain fully auditable:
- The source file is recorded as an
EVIDENCEmaterial named<material>-<input>(the input name is sanitized to a valid material name, e.g.ignored_paths→ignored-paths). The exact input name is preserved in achainloop.material.policy_inputannotation. - The evidence material and the evaluated material are cross-linked both ways through a
chainloop.material.referencesannotation (by material name). - The policy evaluation records a
runtime_input_overridesfield listing which input names were supplied at runtime; the effective merged values remain inwith.
Preventing Implicit Workflow Creation
By default, Chainloop automatically creates workflows during the attestation initialization process if they don’t already exist. While this provides convenience during initial setup, it can lead to workflow proliferation in automated environments where typos or configuration errors might accidentally create unintended workflows. Organization administrators can disable implicit workflow creation to enforce explicit workflow management. When this setting is enabled:- Workflows must be created explicitly using
chainloop workflow createcommand before attestation - Attempting to initialize an attestation with a non-existent workflow will fail with an error
- This prevents accidental workflow creation from automated systems or CI/CD pipelines
Enabling the Setting
Organization owners can enable this setting using the CLI:Example Behavior
When the setting is enabled, attempting to initialize an attestation with a non-existent workflow will result in an error:Use Cases
This feature is particularly useful for:- Large organizations with many teams and automated systems
- Preventing workflow sprawl from typos, misconfigurations, or experimental pipelines
- Enforcing governance by requiring approval for new workflows
- Centralized management where workflow creation should be controlled by platform administrators