Quickstart

This quickstart will guide you through the process of installing the Chainloop CLI and performing your first attestation.

info

By default, the Chainloop CLI comes pre-configured to talk to Chainloop's platform instance, which is currently on early access. To get an account, please request access here, and we'll get back to you shortly.

Alternatively, you can run your instance of Chainloop through our labs docker-compose setup or in Kubernetes following this guide.

  1. Install CLI by running:

    curl -sfL https://docs.chainloop.dev/install.sh | bash -s

    Refer to these instructions for more installation options.

  2. Authenticate to the Control Plane:

    chainloop auth login

    Once logged in, your next step would be to create a Chainloop organization. Think of organizations as workspaces or namespaces. To create an organization with a random suffix, run:

    chainloop organization create --name quickstart-$((RANDOM % 90000 + 10000))
    # INF Organization "quickstart-10122" created!
  3. Create API Token to perform the attestation process:

    To perform an attestation process, you need to provide an API Token:

    export CHAINLOOP_TOKEN=$(chainloop org api-token create --name test-api-token -o token)

    Chainloop API Tokens are commonly used (and required) in CI/CD scenarios. Tokens have narrower permissions, ensuring that they can only perform the operations they are granted to. More information in API Tokens.

  4. Perform an attestation process:

    We are now ready to perform our first attestation, to learn more about its lifecyle refer to this section

    We'll start with the initialization of an attestation. The attestation process requires the name of a workflow and a project to be associated with it.

    Chainloop workflows represent any CI or process you might want to attest. Check this doc for a complete explanation of Workflows and Contracts. You might also want to check our contract reference.

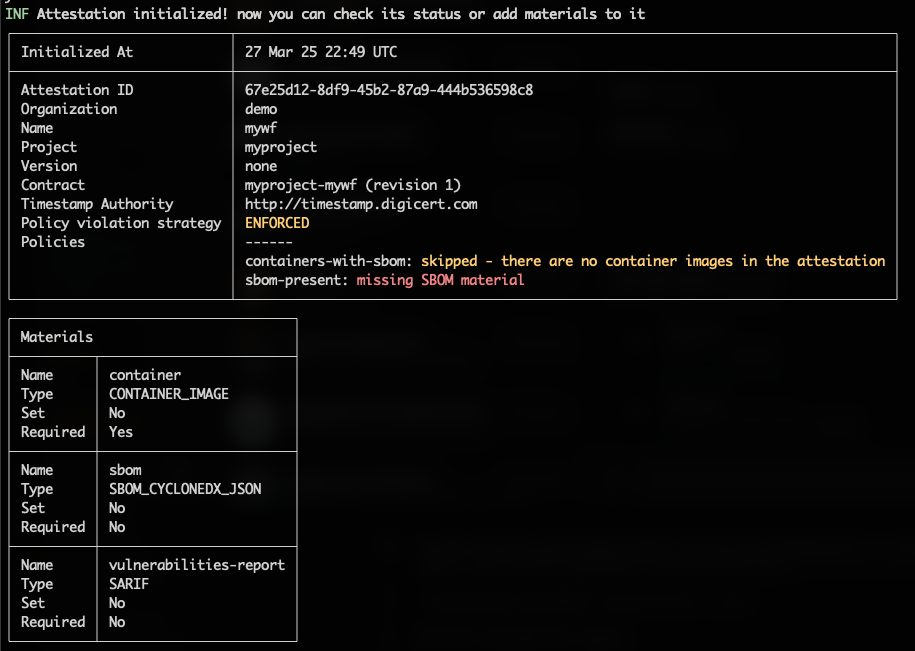
    We can check what kind materials the contract expects by checking the output of attestation init command:

    chainloop att init --workflow mywf --project myproject --contract https://raw.githubusercontent.com/chainloop-dev/chainloop/refs/heads/main/docs/examples/quickstart/quickstart-contract.yaml
    INF Attestation initialized! now you can check its status or add materials to it
    ┌───────────────────────────┬──────────────────────────────────────────────────────────────────────────────────┐
    │ Initialized At │ 27 Feb 25 13:26 UTC │
    ├───────────────────────────┼──────────────────────────────────────────────────────────────────────────────────┤
    │ Attestation ID │ 64ae145e-5424-4f67-8dee-ae42dccfb6e4 │
    │ Organization │ quickstart-10122 │
    │ Name │ mywf │
    │ Project │ myproject │
    │ Version │ v0.175.0 (prerelease)
    │ Contract │ quickstart-contract (revision 1)
    │ Policy violation strategy │ ADVISORY │
    │ Policies │ ------ │
    │ │ containers-with-sbom: skipped - there are no container images in the attestation │
    │ │ sbom-present: missing SBOM material │
    └───────────────────────────┴──────────────────────────────────────────────────────────────────────────────────┘
    ┌───────────────────────────────────┐
    │ Materials │
    ├──────────┬────────────────────────┤
    │ Name │ container │
    │ Type │ CONTAINER_IMAGE │
    │ Set │ No │
    │ Required │ Yes │
    ├──────────┼────────────────────────┤
    │ Name │ sbom │
    │ Type │ SBOM_CYCLONEDX_JSON │
    │ Set │ No │
    │ Required │ No │
    ├──────────┼────────────────────────┤
    │ Name │ vulnerabilities-report │
    │ Type │ SARIF │
    │ Set │ No │
    │ Required │ No │
    └──────────┴────────────────────────┘

    We can see how the contract expects a container image, an SBOM, and a vulnerability report. We can also see that the SBOM is not required and neither the vulnerability report, but the container image is.

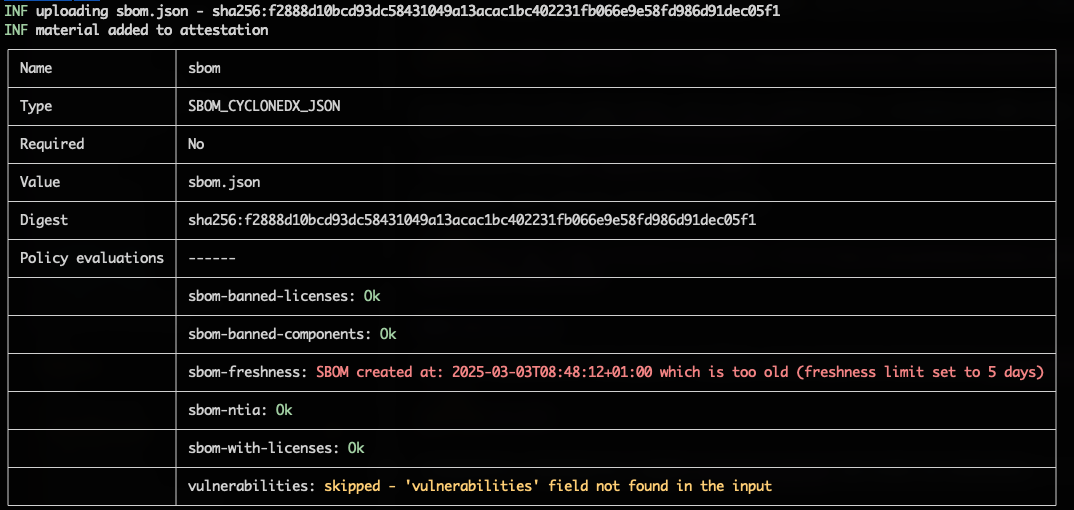
    Once attestation is initiated, we can start adding materials to it. In this case we are adding an OCI container image, SBOM, and a vulnerability report. Many other material types are supported, check the updated the list

    chainloop att add --name container --value ghcr.io/chainloop-dev/chainloop/control-plane:latest

    We just attested the latest version of the control-plane image as an example, remember that you can provide any material you want to attest by pointing to a local filepath or URL too, like for example:

    info

    Please note the SBOM referenced below is a reduced version of the real one for the sake of simplicity and demo purposes.

    chainloop att add --name sbom --value https://raw.githubusercontent.com/chainloop-dev/chainloop/refs/heads/main/docs/examples/quickstart/sbom.json

    And finally, we can add a vulnerability report:

    chainloop att add --name vulnerabilities-report --value https://raw.githubusercontent.com/chainloop-dev/chainloop/refs/heads/main/docs/examples/quickstart/vulnerability-report.json

    Once all the materials are pushed we can finally sign and push the attestation to Chainloop for permanent preservation.

    chainloop att push

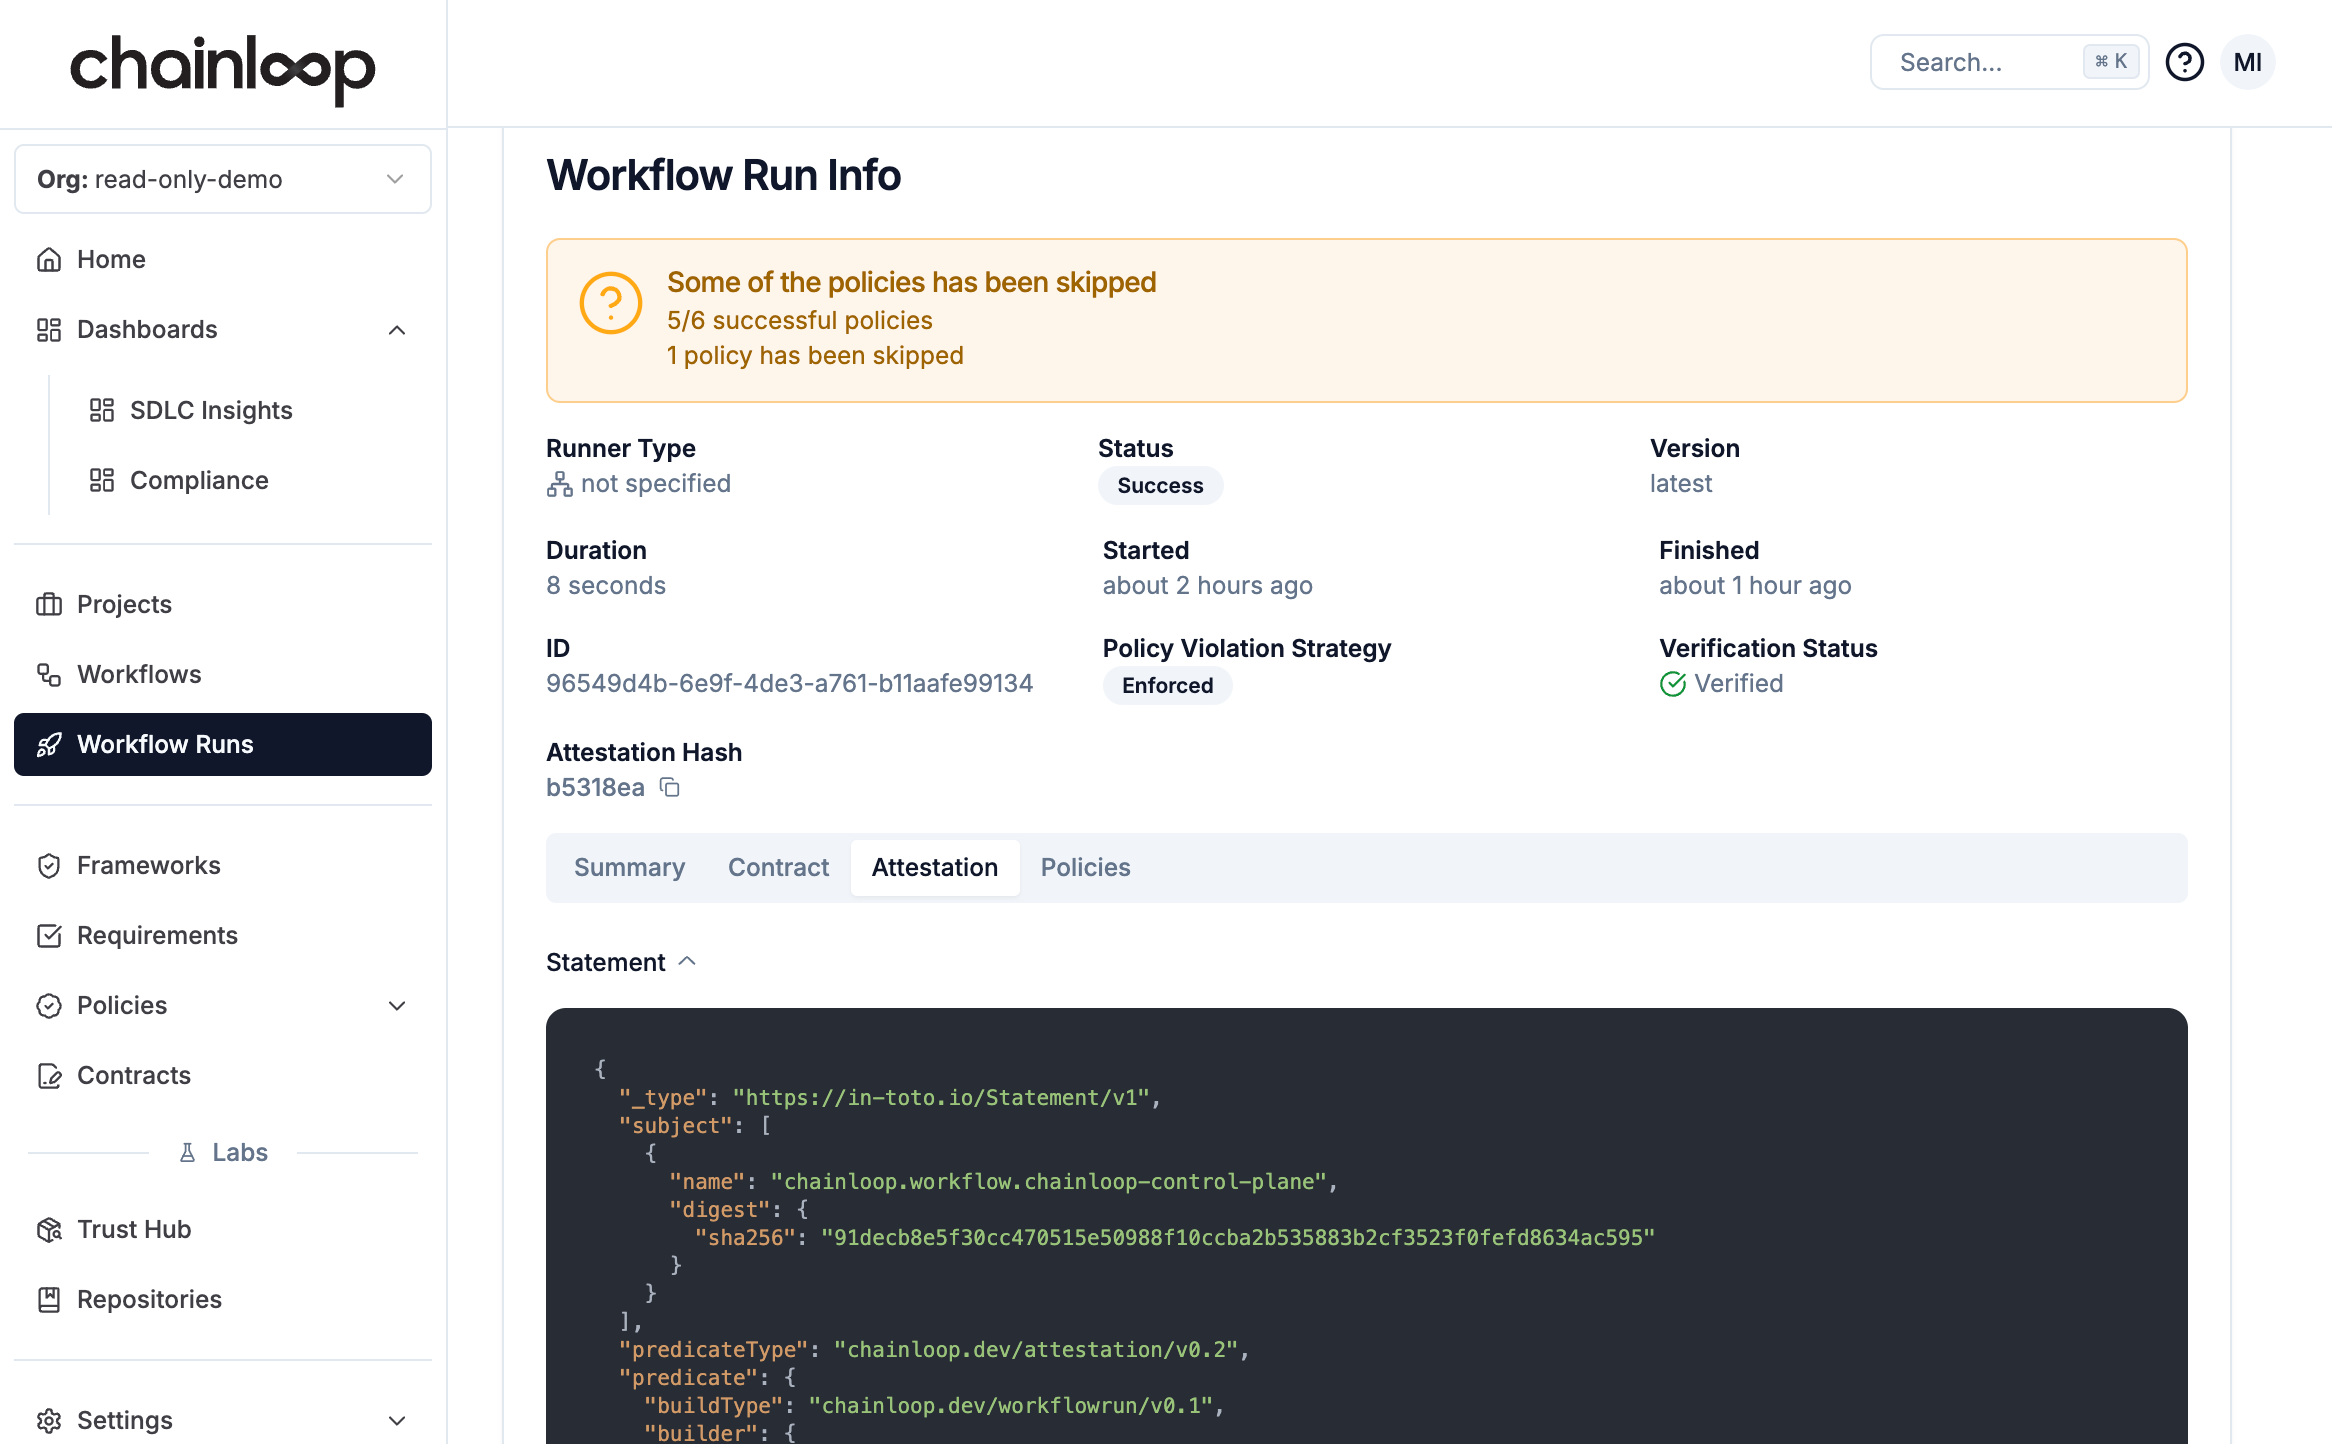
    Transparently, Chainloop has signed the attestation and pushed it to the Chainloop Control Plane. You can learn more about the different signing and verification methods in the Chainloop documentation.

  5. Operate on your data:

    At this point, we've performed our first attestation, now we can just play with the Chainloop CLI to inspect the attestation, verify it and so on.

    For example, to list the workflows you can run:

    # List workflow runs, so then you can do `workflow run describe --name <workflow-name>` to get more details
    chainloop workflow run ls

    for a complete list of available options and operations refer to

    chainloop --help

Great! You've successfully completed this guide. Now you are ready to dive deeper into our Getting Started guide

Good luck and have fun with Chainloop! 🚀