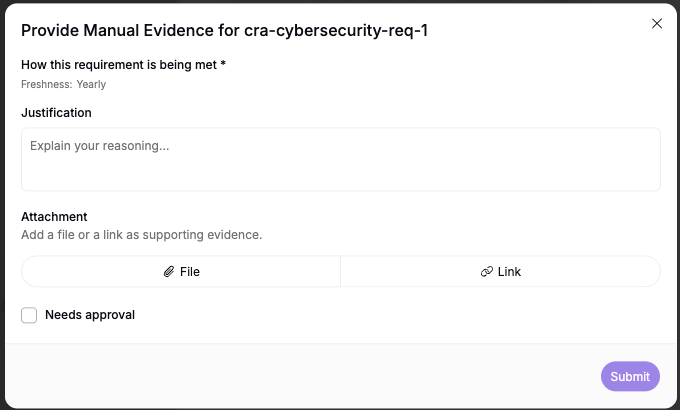
This feature is only available on Chainloop’s platform paid plans.
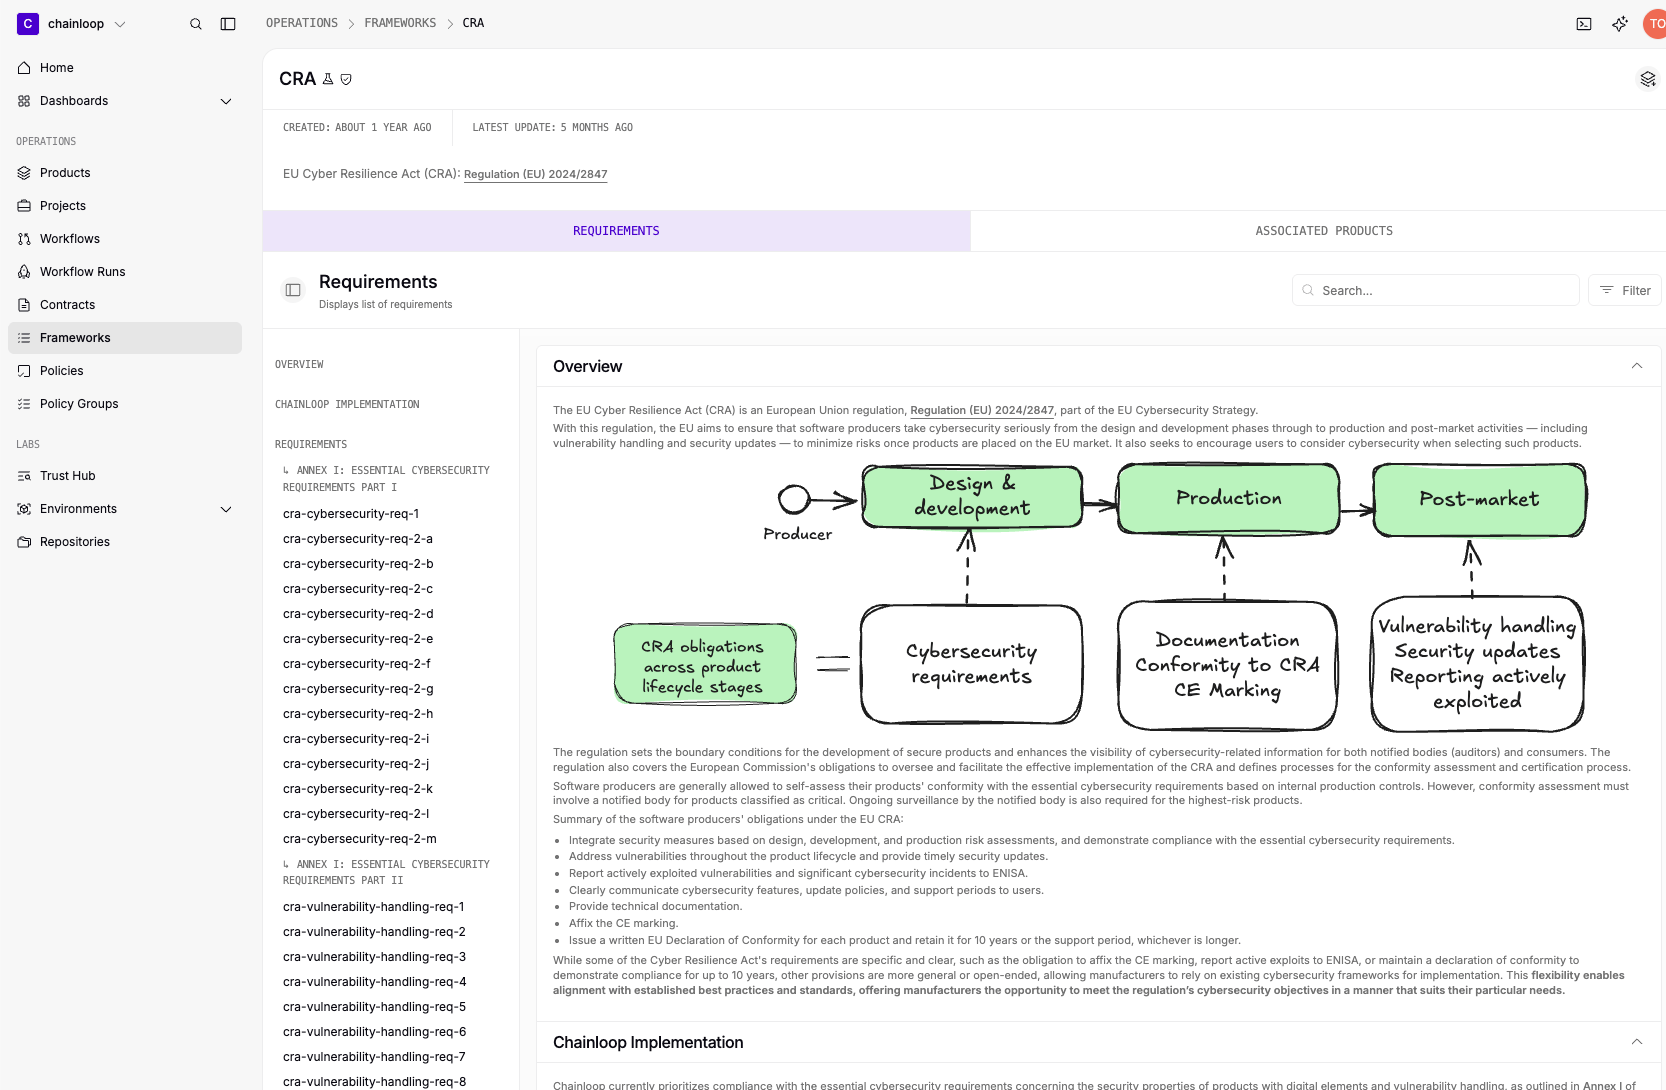
- Include an SBOM as part of the attestation for a generated artifact.
- Periodically run an SCA vulnerability scan on officially supported, released versions of the product.
- The SBOM is typically generated when the artifact is first created.
- Scanners are often run later, and repeatedly, on already-built artifacts.

- You have a Chainloop project with at least one version. We will refer to this project as
production-project. - Within this project there is a workflow associated with a CI process that sends an SBOM in the attestation. We’ll refer to this as
release-workflow. - Within the same project, you have a workflow associated with the CI process that sends SCA scan reports in the attestation. We’ll refer to this as
vuln-scan-workflow.
- Step 1: Attach the CRA framework to the project
- Step 2: Update or create contracts to gather SBOM, vulnerability report and run policies.
- Step 3: Attach those contracts to workflows (only when previously using default-contract)
- An existing project that already meets the workflow requirements described above.
- A new project and workflows, where we’ll demonstrate the process manually by uploading attestations. This helps illustrate the mechanics of CRA compliance tracking. You can later automate this via your CI pipeline.
This framework is available in-preview mode. Learn how to enable in-preview compliance frameworks in your organization.
Step 1. Attach the CRA Framework to the Project
For existing projects, simply follow the framework attachment instructions selecting CRA from the frameworks list. If you are starting from scratch, create a new project with the nameproduction-project and add the CRA framework during the project creation.
Step 2. Update or Create Contracts
If you’re reusing existing workflows and those workflows already have contracts (other than the default one), update those contracts to include:- Correct material types (if you already had contracts, you probably already had the material needed, keep your existing name for each type so you don’t need to update your CI pipeline).
- Required policy groups:
sbom-qualityfor therelease-workflowandvulnerability-managementfor thevuln-scan-workflow.
- Web UI
- CLI
Create two new contracts,
release-contract and vuln-scan-contract, following the managing contracts instructions and including the following yaml content:Step 3. Attach Contracts to Workflows
If you’re using existing workflows that were attached to the default contract, update them to use the new contracts:- Web UI
- CLI
Follow the associating workflows to contracts documentation and assign the
release-workflow to the release-contract and the vuln-scan-workflow to the vuln-scan-contract.- Create a workflow with the
release-workflowname and associate it with theproduction-projectand therelease-contractthat you created in the previous step. - Create a workflow with the
vuln-scan-workflowname and associate it with theproduction-projectand thevuln-scan-contractthat you created in the previous step.
Step 4. Send Attestation and Create a Project Version
This step is only necessary if you don’t already have your CI pipeline configured to send attestations. Assuming you have the Chainloop CLI installed (see installation docs if not), run:Tracking CRA Compliance
Once you’ve completed the steps above, your project should now be configured according to the structure shown in the diagram at the beginning of this guide and your CRA compliance status will appear in the product’s Compliance tab for each version.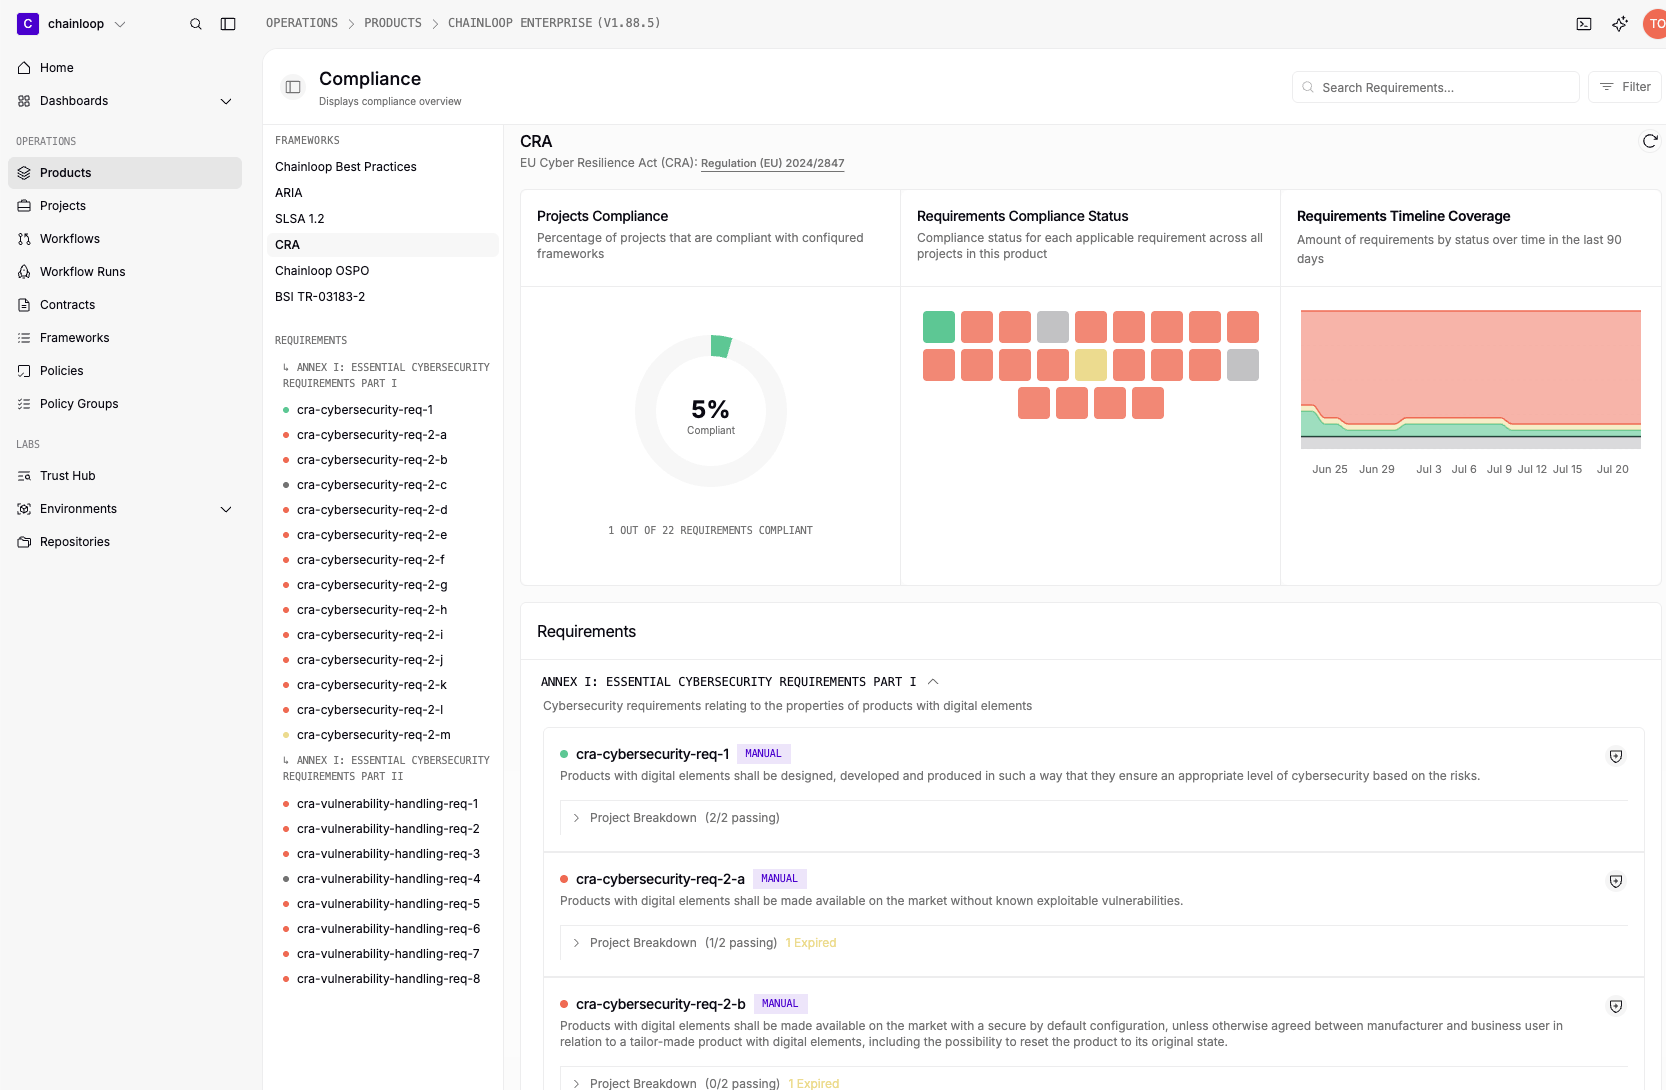
- Attestations are submitted through a workflow.
- Manual evidence is provided.
- A policy is due for evaluation (based on time-based rules or SLAs).